FiveM · Advanced
FiveM server reinstallation
Reinstallation overwrites the server files with a clean installation – useful when switching frameworks, fixing a broken install, or starting from scratch. The database remains untouched. Follow this guide carefully so you don't lose any data.
1Stop the server
The first step is to stop the server in the panel – without a stopped server none of the following actions can be performed. On the server's main page (Terminal tab) click the red Stop button and wait until the status changes to Offline.
2Back up your data
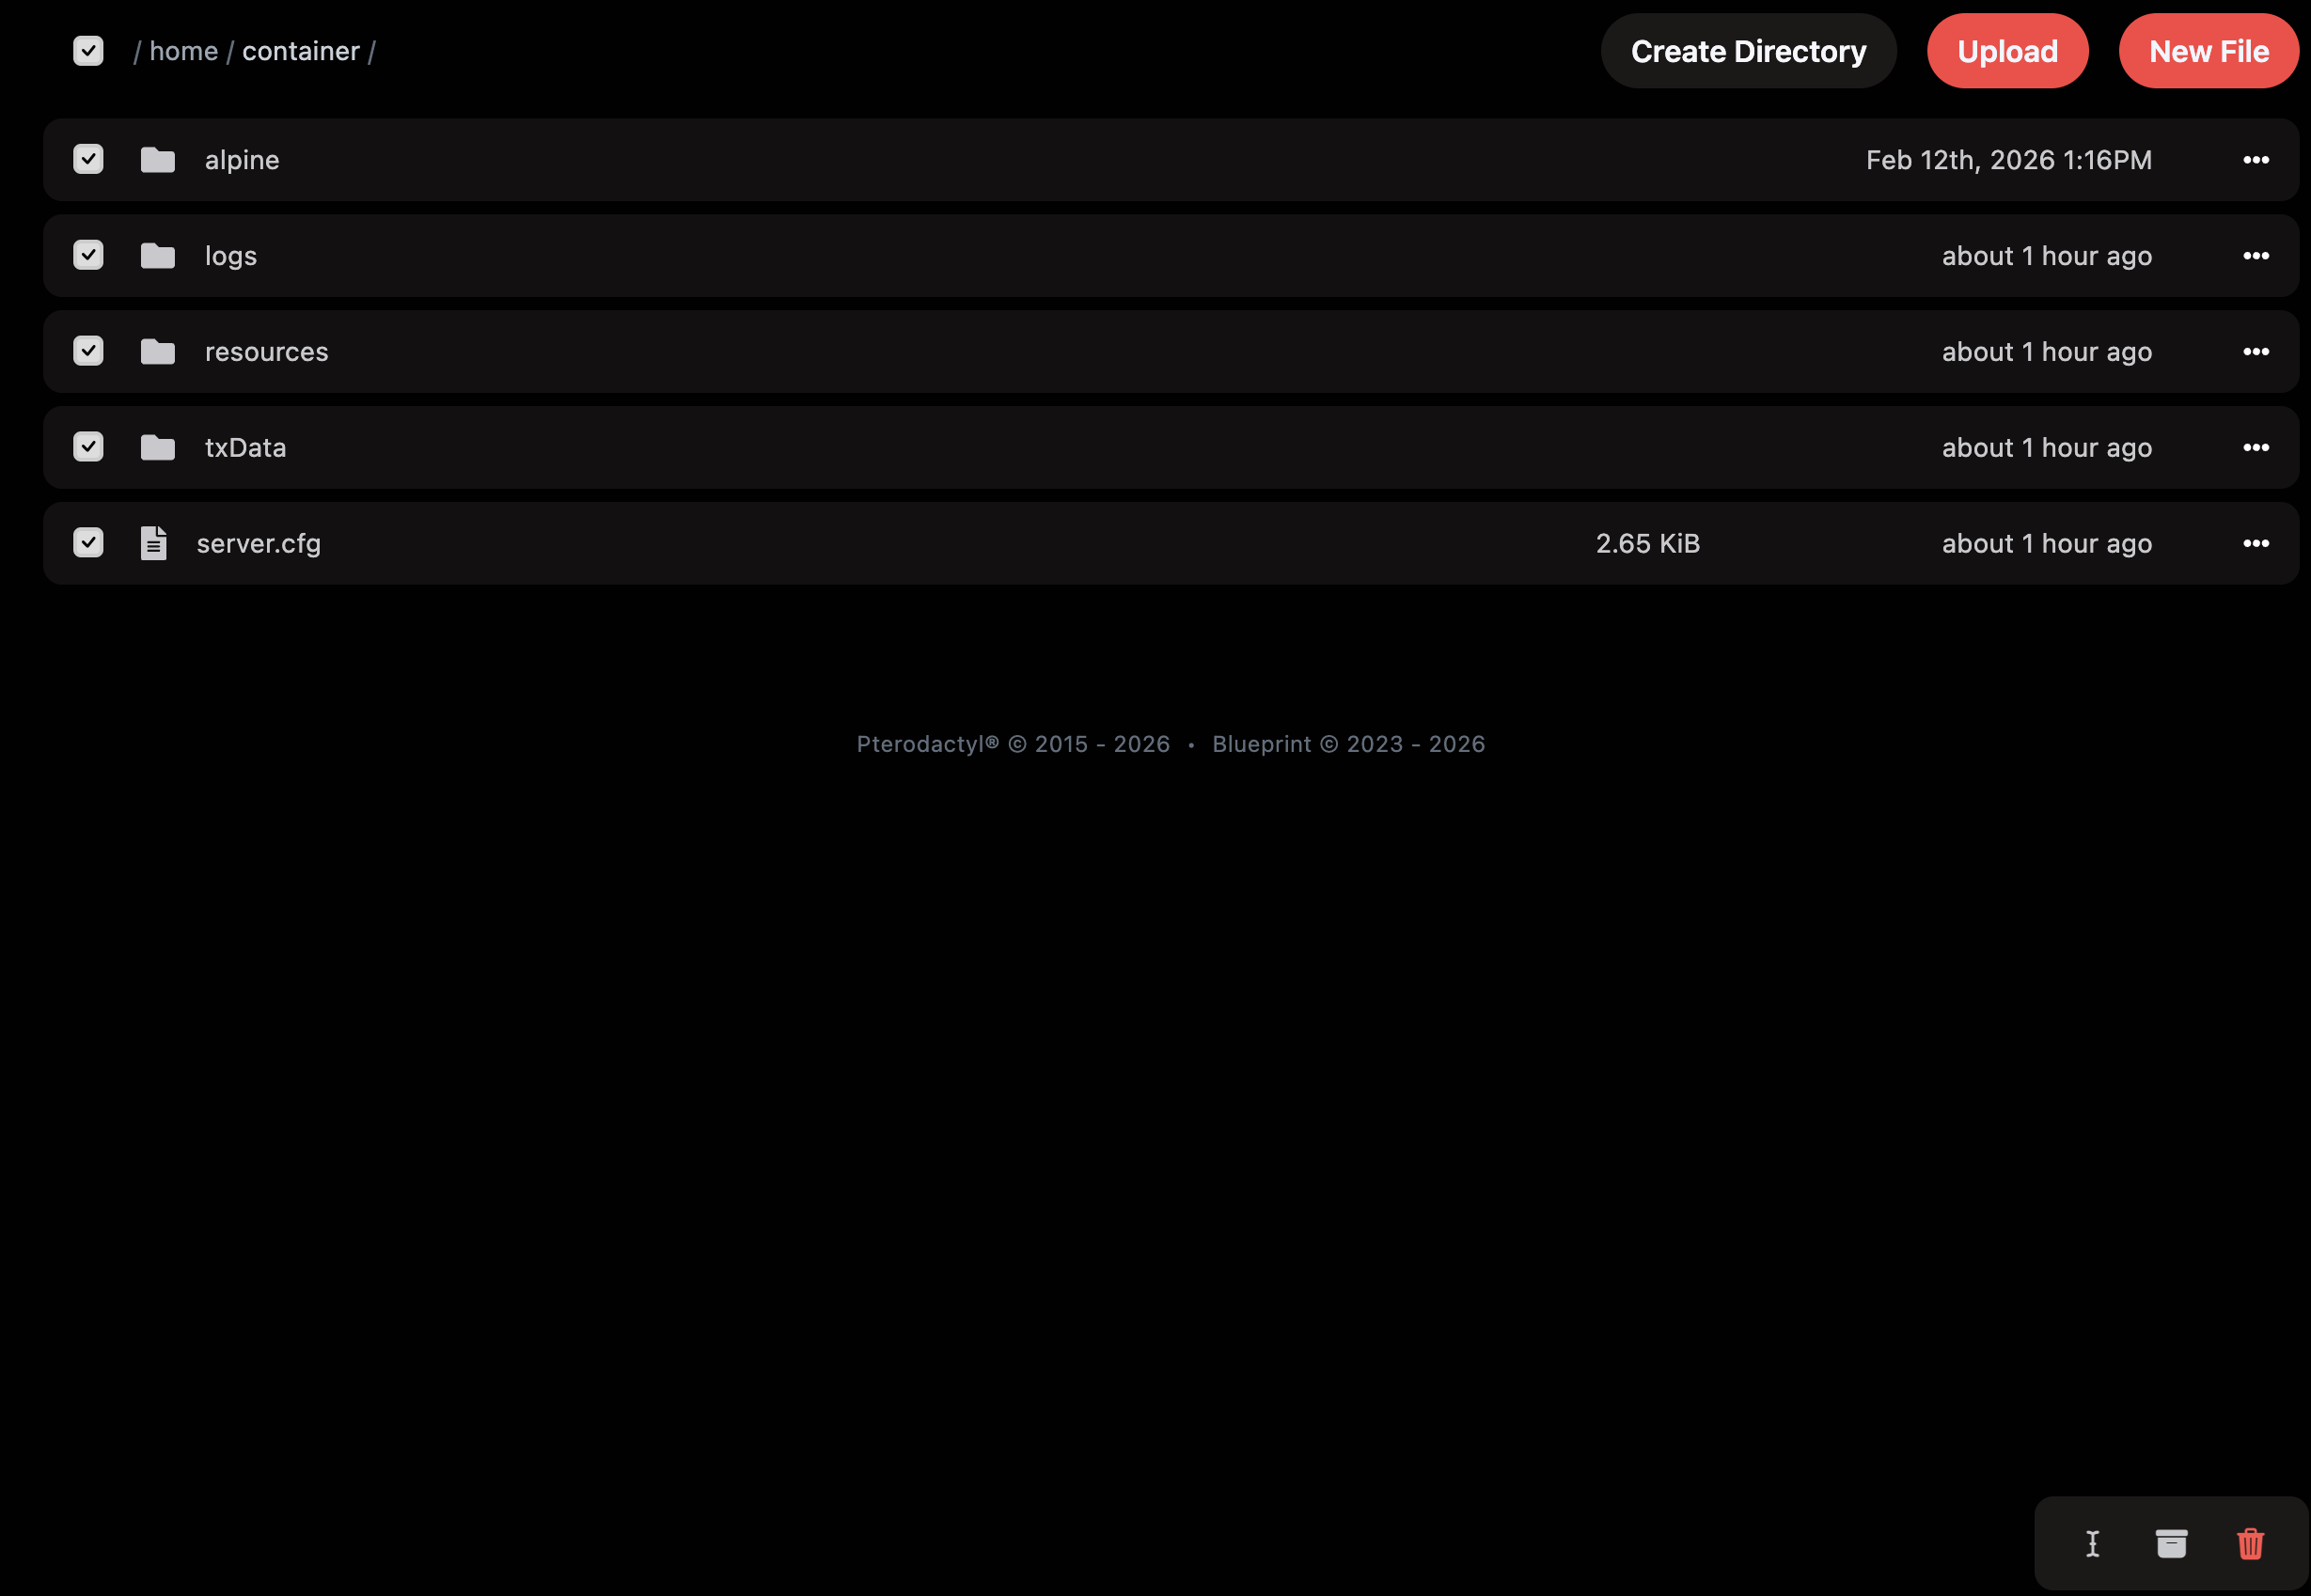
Go to the Files tab. You'll see the server root directory with folders alpine, logs, resources, txData and the file server.cfg.
server.cfg
Click the three dots (···) or right-click on server.cfg and choose Download. This file contains the license key, database connection and resource list – without backing it up you'll have to re-enter everything.
Custom scripts
From the resources folder download (right-click → Download) all your custom or modified scripts. Default framework resources (ESX, QBCore etc.) will be restored automatically by the reinstall – you don't need to back those up.
3Panel snapshot (Backups)
As an additional safety net, create a snapshot of the entire server in the Backups tab. The snapshot includes all files and lets you restore anything with one click – no manual uploading needed.
Backups tab → Create Backup → enter a name (e.g. "Before reinstall") → Start Backup.
4Delete server files
Before running the reinstall, delete the existing server files so the installation starts on a clean slate. In the Files tab check the checkbox in the table header (selects all) and click Delete.
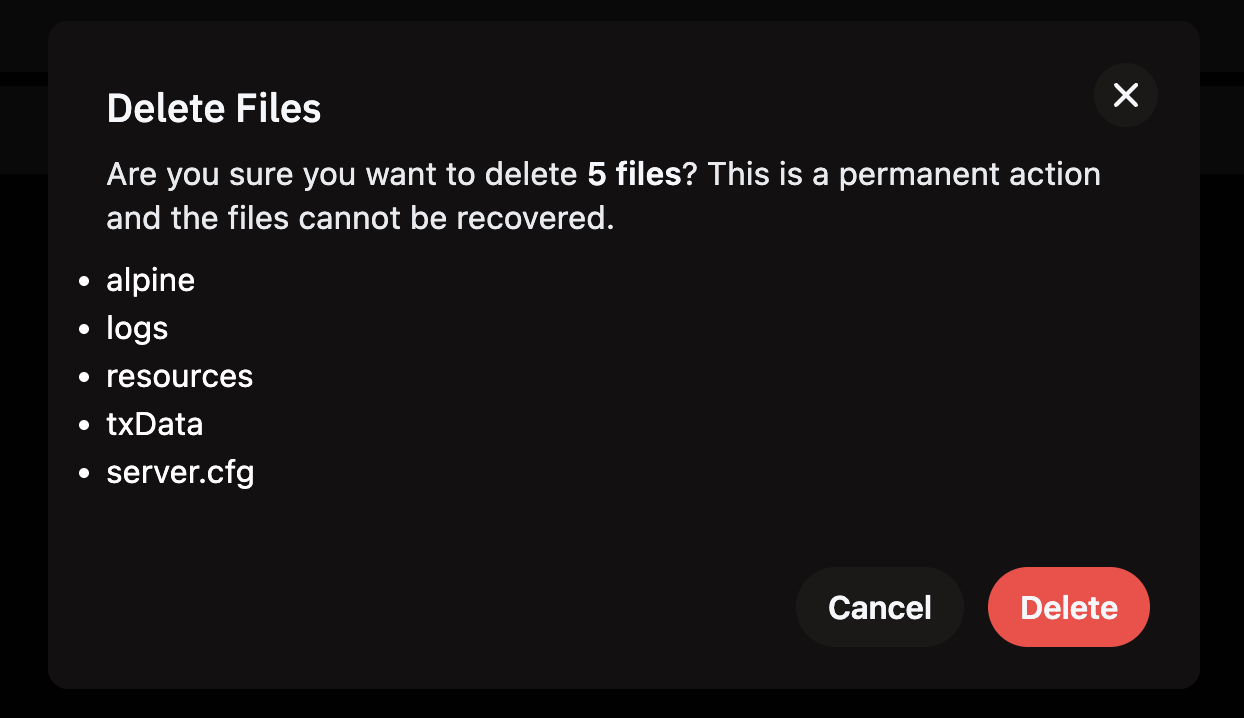
A confirmation dialog appears listing the files to be deleted: alpine, logs, resources, txData, server.cfg. Click Delete.
5Running Reinstall Server
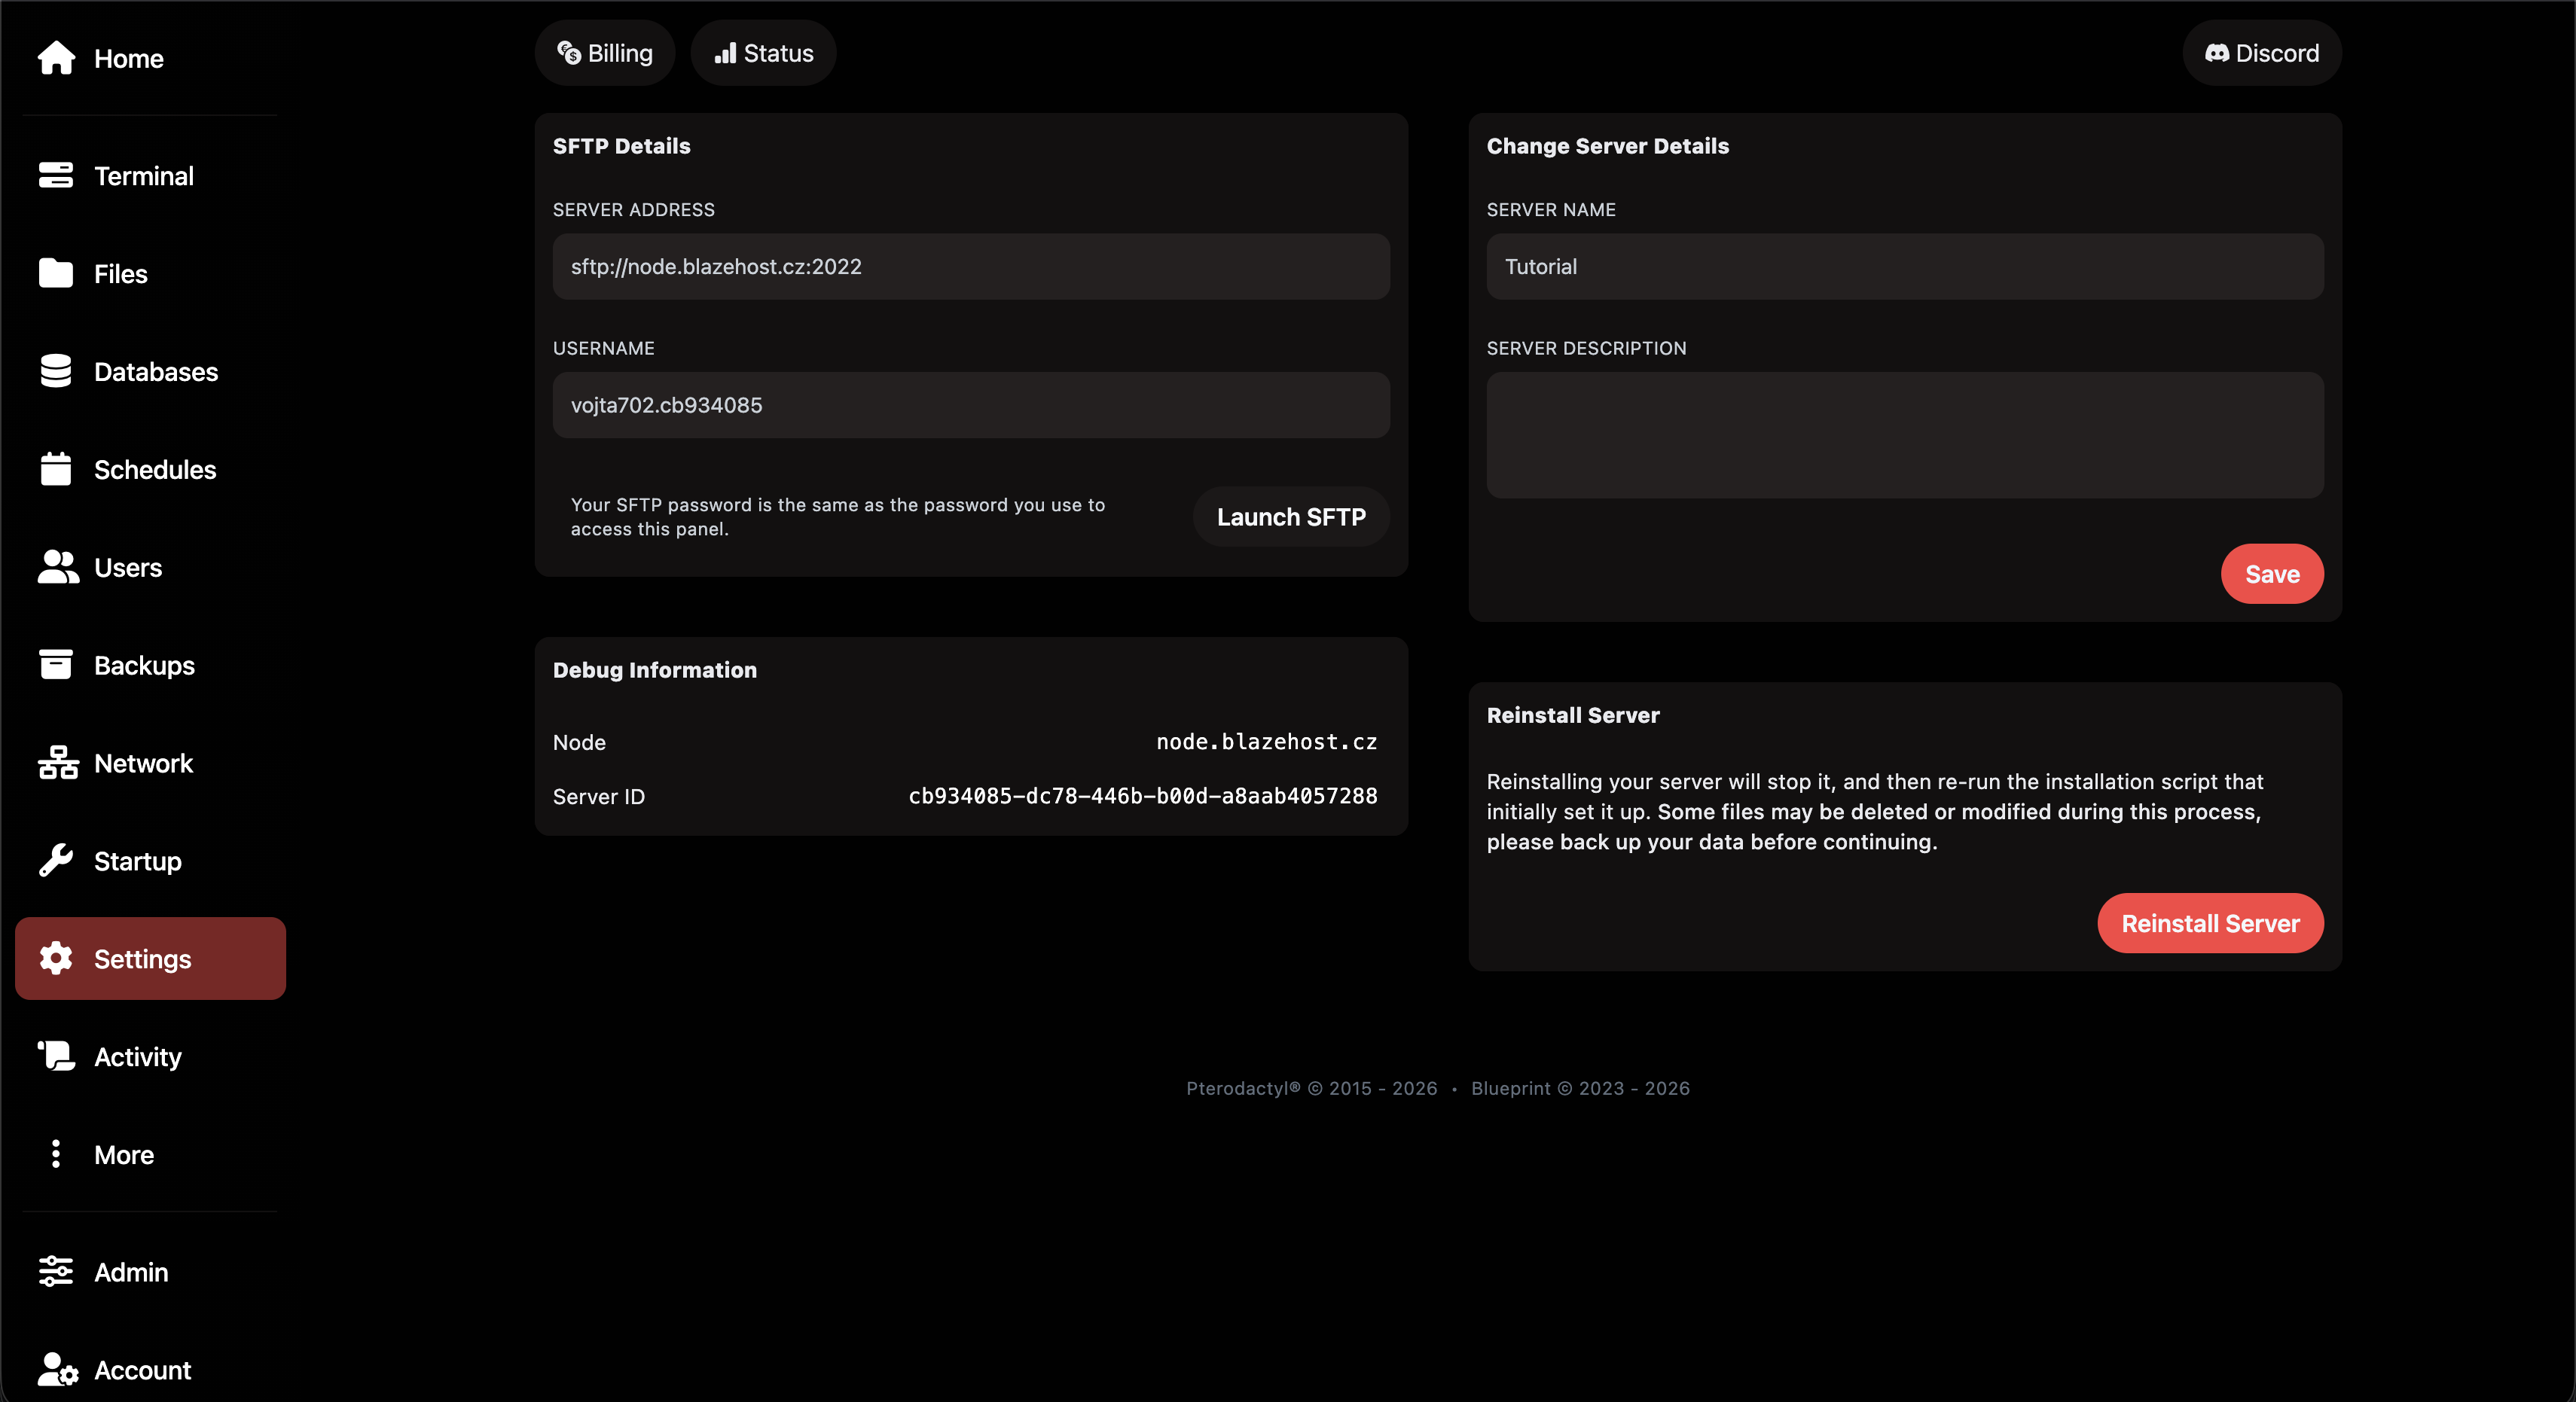
Go to the Settings tab. On the right side of the page find the Reinstall Server section with description and red button. The page also shows SFTP credentials and Debug Information (Node, Server ID) – you don't need those now.
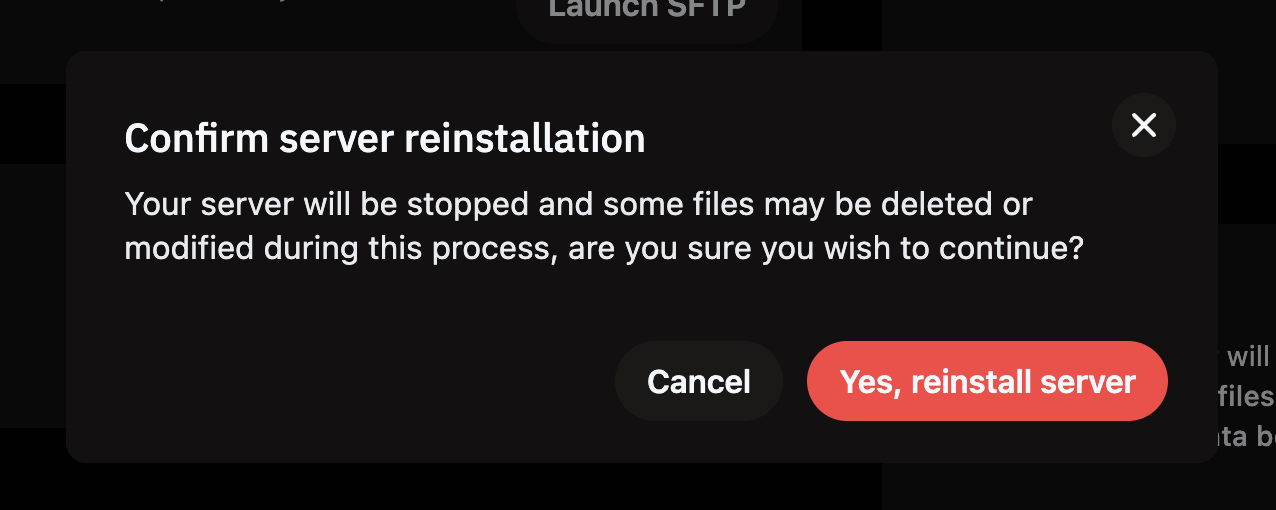
After clicking, a Confirm server reinstallation dialog appears. Click Yes, reinstall server to confirm.
After confirming, go back to the Terminal tab and watch the console. In 1–3 minutes the txAdmin URL and PIN will appear – reinstallation is complete.
6Configuring txAdmin (Setup Wizard)
After reinstalling, go through the txAdmin Setup Wizard again – same as the initial setup. Detailed steps are in the Complete guide: FiveM hosting + database (steps 3–7).
7Restore data & verify
server.cfg
After the Recipe Deployer finishes, upload your backup server.cfg in the Files tab (Upload or drag and drop). It overwrites the default generated config.
Custom scripts
Upload your backed-up scripts into the resources folder via the Files tab. Make sure they are listed in server.cfg with ensure název_scriptu.
Start & check
In txAdmin click Start Server and watch the console – verify that oxmysql reports a successful database connection and all resources load without errors.
Database notes
Server reinstallation doesn't affect the database at all – all data (player characters, inventories, vehicles, properties…) will be preserved. The database is stored separately on the MySQL server and is unrelated to reinstalling server files.
Still stuck?
Our support team is happy to help.